Build Your Own Building WiFi Honey with DNS Spoofing Using Node MCU (ESP8266)
⚠️ Disclaimer:⚠️
This project is for testing and educational purposes only. Please use it responsibly and solely against your own networks and devices. We do not take any responsibility for any misuse of this program.
Wi-Fi Honey (ESP8266)
In the ever-evolving landscape of cybersecurity, it's crucial to stay informed about potential threats and vulnerabilities. As part of our exploration into network security, we recently embarked on a project to create a WiFi Honey for the NodeMCU (ESP8266 Module) with DNS spoofing. Before diving into the details, we want to make it abundantly clear that this project is intended for educational purposes and ethical testing only.

Requirements
1. Node MCU(ESP 8266)
if you don’t have one, You can buy it online (Click here buy from Amazon)
2. Node MCU Flasher Tool
You can download from Here
3. A Data Cable
4. ESP8266 Resetting Bin
After flashing a bin file onto the ESP8266, it is necessary to reset the ESP8266 before installing any other Arduino or bin file. You can download AIThinker_ESPFlasher from Here
5. Download Arduino IDE
Please Download Arduino IDE From Here
6. Download Arduino Library
Arduino libraries to add extra features and ready-made code to your projects, saving time and making it easier to use specific hardware or accomplish common tasks. Download Arduino Library File from Here
7. The binary file of the Wifi_Honey program
ESP8266_WiFi_Honey.bin for your NODE MCU (Download Here download v1 version )
Wifi Honey Bin File Steps to do
1. Connect the Node MCU to computer by Data Cable
2. Install MCU Flasher Tool & Node MCU Board Driver
3. Then open the Node MCU Flasher Tool
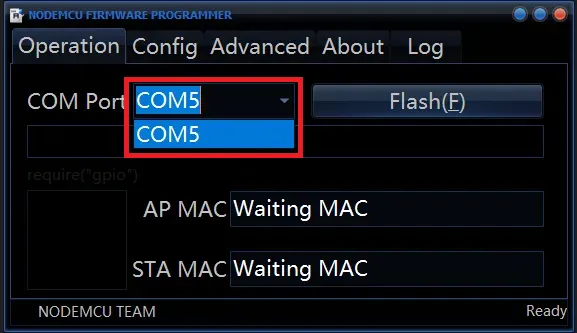
Here you have to select the “port” which the board is connected. (shown in picture below)
4. Then brows the .bin file
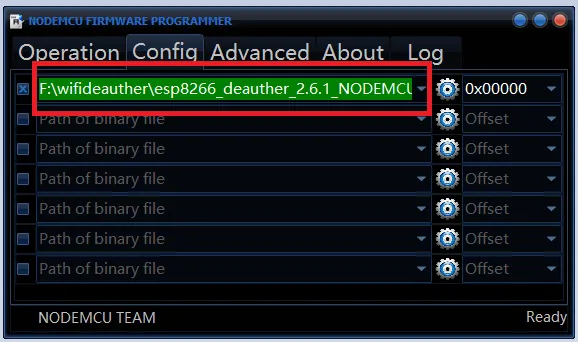
Click the config tab, then browse and select the .bin file you downloaded before (shown in picture below)
5. Then Hit Flash
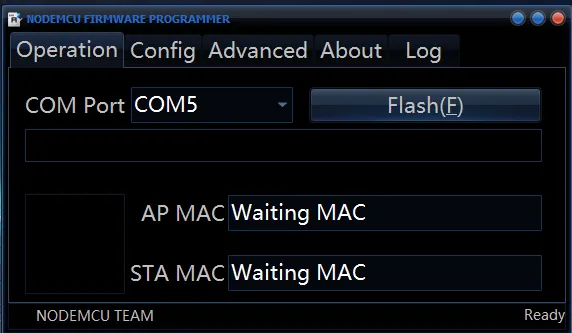
6. Don’t Disturb the board
now it will be start uploading the program to Node MCU and your Node MCU start blinking.
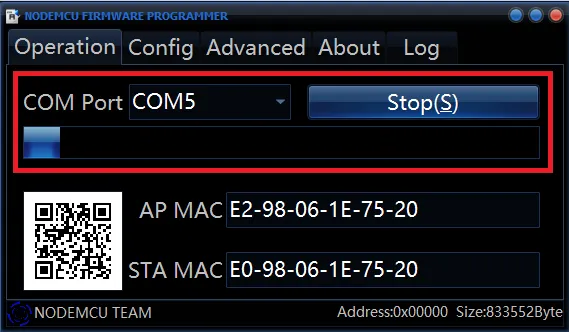
6. Upload could be take 4 -5 Min
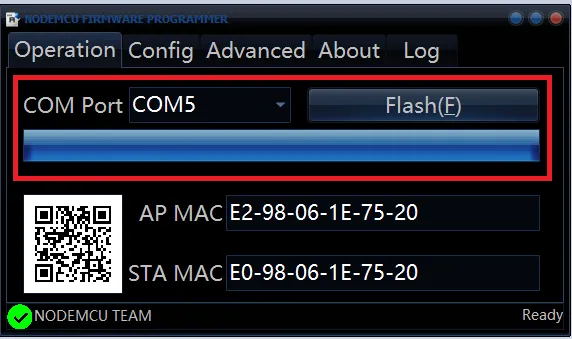
After Completing the Uploading it shows a green tick & Ready in right side(shown in picture below), Now you can close the nodemcu-flasher
How to Use
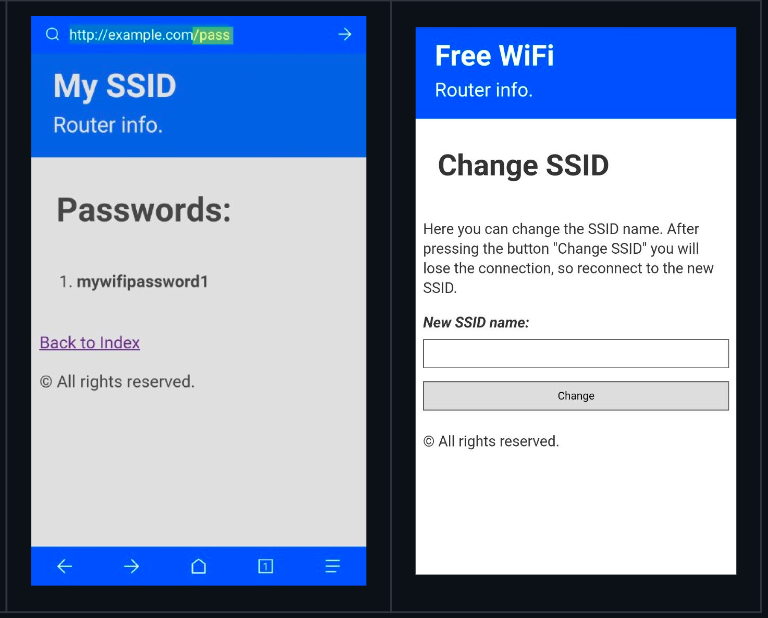
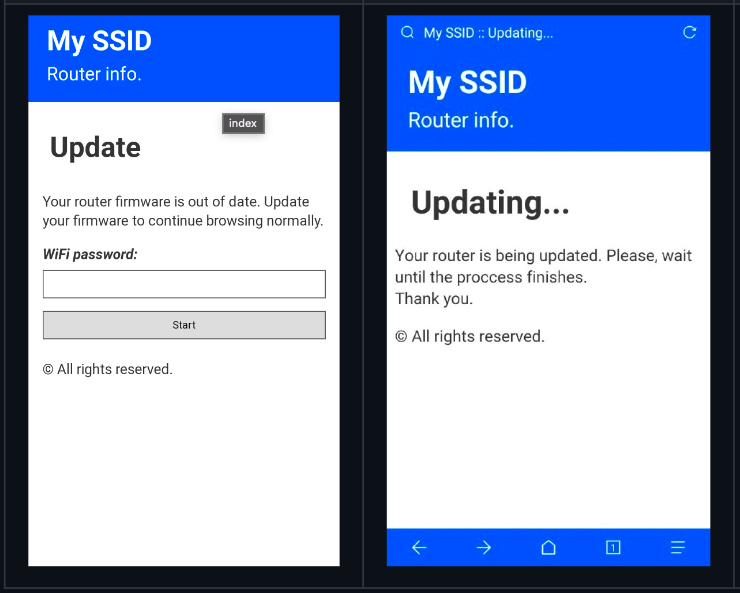
1. First power the Node MCU after the powering up you will see a Wi-Fi network show in your system named as “Free WiFi”. You need to connect to the Wi_Fi network. Then you can see some firmware Updating page is open up and Upon entering the password, the page will redirect to the updating page. However, we have successfully obtained the password.(Given Below)
2. By accessing the IP address 172.0.0.1/pass, one can retrieve all the passwords posted by the victim. Additionally, it is possible to modify the SSID name of the Access Point by visiting the IP address 172.0.0.1/ssid.
