Build Your Own Wi-Fi Deauther Using Node MCU (ESP8266)
⚠️ Disclaimer:⚠️
This is only for educational purpose do not try to hack anyone without their permission. Hacking is illegal do it in your own lab environment.

Wi-Fi Deauther (ESP8266)
A "deauther" using a NodeMCU (ESP8266) is a device that can send deauthentication packets to disrupt Wi-Fi connections. This can be used for security testing, such as identifying vulnerabilities in wireless networks or testing the resilience of devices to deauthentication attacks. However, it's essential to use such a device responsibly and within legal boundaries, ensuring that you have proper authorization to test or assess the networks you're interacting with.
Requirements
1. Node MCU(ESP 8266)
if you don’t have one, You can buy it online (Click here buy from Amazon)
2. Node MCU Flasher Tool
You can download from Here
3. A Data Cable
4. Binary of the Deauther program file
esp8266_deauther_2.6.1_NODEMCU.bin for your NODE MCU (Download Here download v2 version )
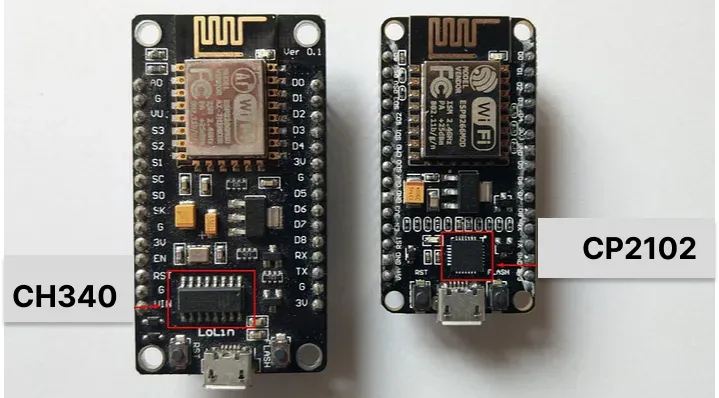
5. Driver for your Node MCU Board
Driver for your board written behind the board [for CH340 download here] [for CP2102 download here]
Steps to do
1. Connect the Node MCU to computer by Data Cable
2. Install MCU Flasher Tool & Node MCU Board Driver
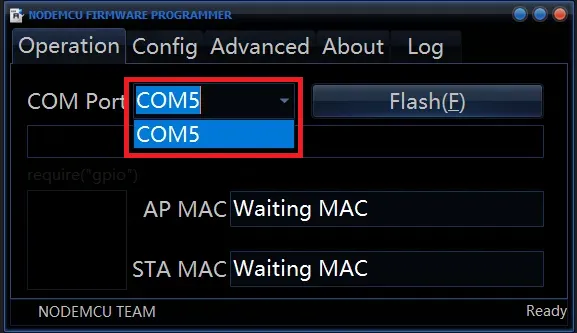
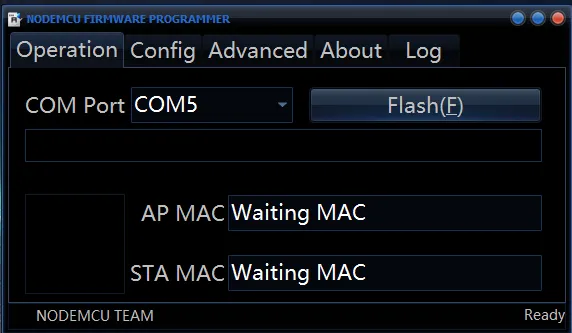
3. Then open the Node MCU Flasher Tool
Here you have to select the “port” which the board is connected. (shown in picture below)
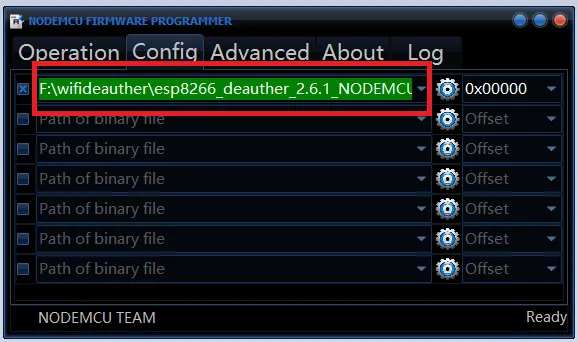
4. Then brows the .bin file
Click the config tab, then browse and select the .bin file you downloaded before (shown in picture below)
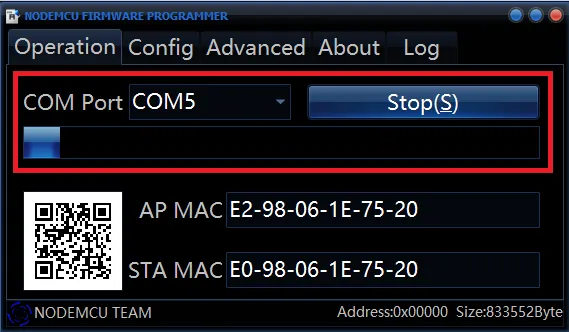
5. Then Hit Flash
6. Don’t Distrub the board
now it will be start uploading the program to Node MCU and your Node MCU start blinking.
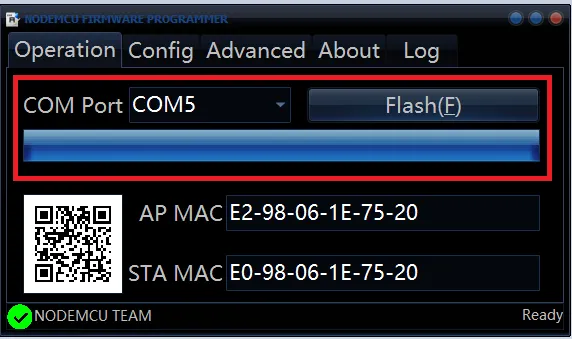
6. Upload could be take 4 -5 Min
After Completing the Uploading it shows a green tick & Ready in right side(shown in picture below), Now you can close the nodemcu-flasher
How to Use
1. First power the Node MCU after the powering up you will see a Wi-Fi network show in your system named as “pwned”. You need to connect to the Wi_Fi network.
Default SSID: pwned
Default Password: deauther
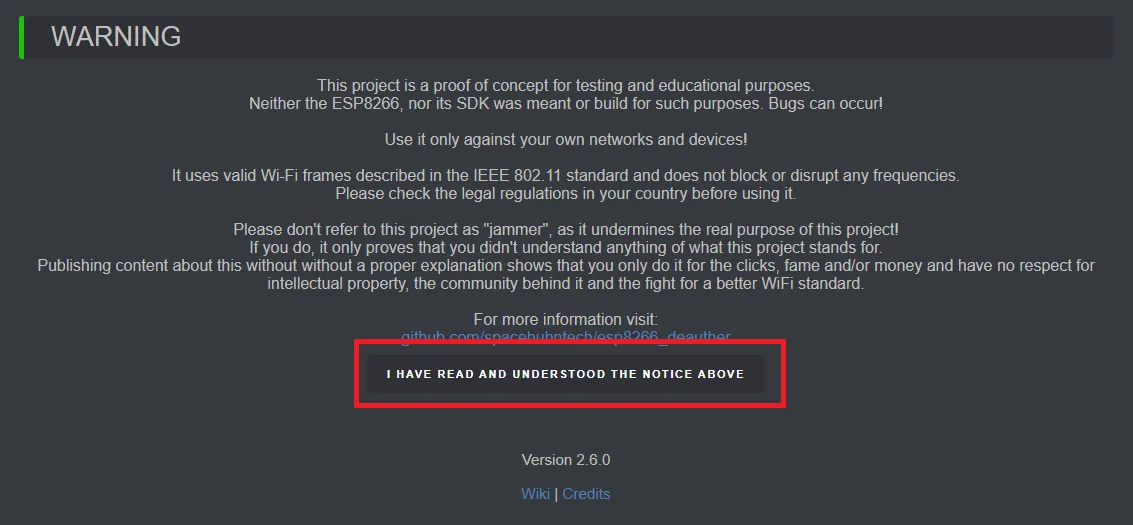
2. After connecting to the network you can access its web interface by going to the IP address = 192.168.4.1 in your browser.
3. As soon as you open this IP its show the following page first. Then read and hiti have Read button given below.